Hugo Blog Setup Guide
Stack
- Hugo. A static site generator (write posts in Markdown, builds to HTML).
- GitHub. Stores site files, triggers auto-deploy on push.
- Cloudflare Pages. Provides free hosting, auto-deploys when GitHub repo updates.
Prerequisites
- Linux (tested using Arch-based Omarchy)
- GitHub account with
ghCLI installed - Register and set up an account on Cloudflare (https://cloudflare.com)
- Register domain name using Cloudflare or other registrar (optional)
- Obsidian app for writing markdown posts (optional)
Step 1 - Install Hugo
In Arch-based distributions, run the following command:
yay -S hugo
If you are using a distribution that is not Arch-based, you can find the hugo package in your distro’s repository and install it.
Tip
You can use
aptfor Debian-based systems,dnffor Fedora, orzypperfor openSUSE.
Step 2 - Create a Site
cd /path/to/your/blog/folder
hugo new site site
cd site
git init
Hugo creates the site scaffold at blog/site/.
Keeping it in a subdirectory prevents Hugo’s folders from mixing with other notes in the parent vault.
Step 3 - Install the PaperMod Theme
git submodule add https://github.com/adityatelange/hugo-PaperMod themes/PaperMod
Step 4 - Configure Your Site
I am using neovim to edit files, but you can just as easily use nano or gedit.
Edit the default hugo.toml file using this command:
nvim hugo.toml
Insert the following content to set up your custom domain and theme:
baseURL = 'https://yourdomain.com/'
locale = 'en-us'
title = 'Your Blog Title'
theme = 'PaperMod'
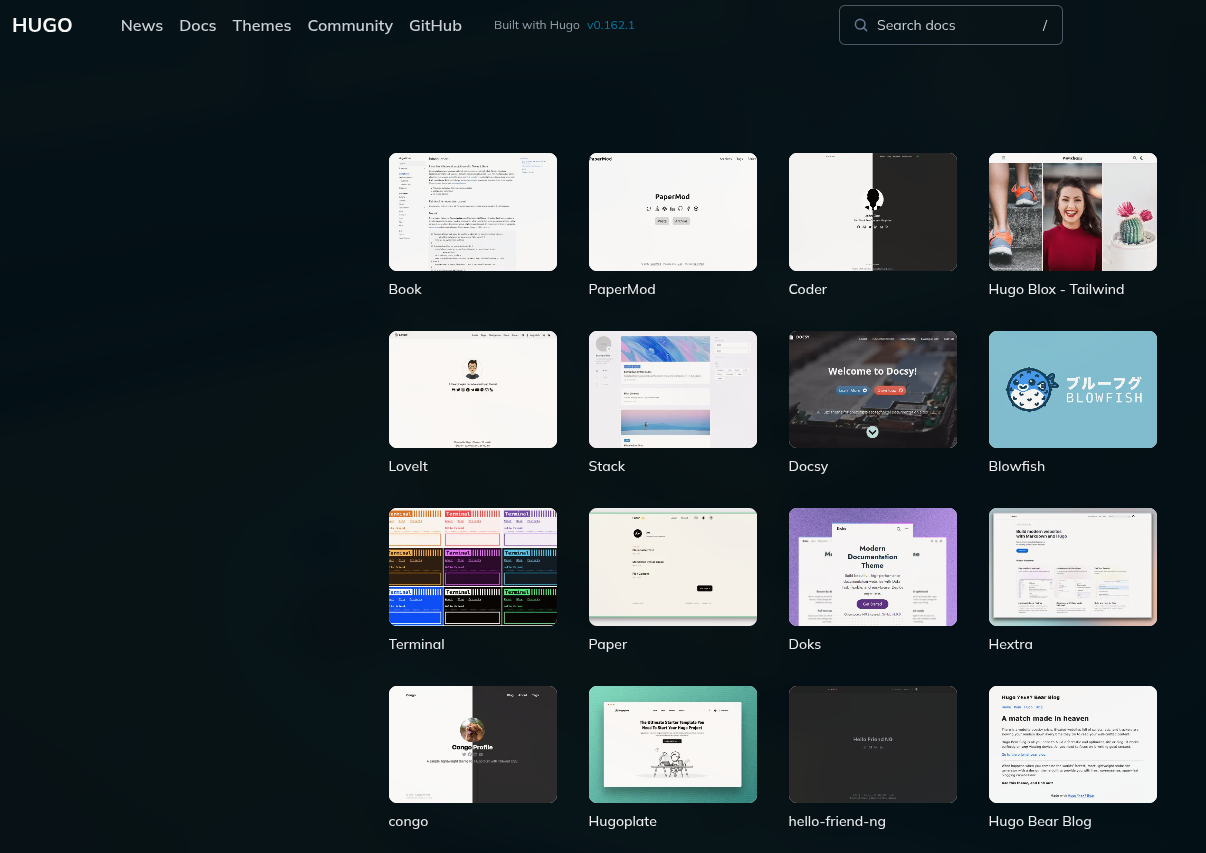
I chose PaperMod, but you can choose any Hugo template that you like the look of.
Save with :wq!.
Step 5 - Create Your First Post
To create your first post, run the following command:
hugo new posts/my-first-post.md
Edit the file in nvim (or other text editor):
nvim content/posts/my-first-post.md
Hugo generates a +++ TOML frontmatter block. Keep only that block. Remove any extra frontmatter (e.g. from Obsidian templates) if present.
+++
date = '2026-06-01T00:00:00-00:00'
draft = true
title = 'My First Post'
+++

Post content goes here.
Important
draft = truemeans the post will not publish publicly until changed todraft = false.
Step 6 - Preview Locally
hugo server -D
Visit http://127.0.0.1:1313 to preview. The -D flag renders draft posts.
Step 7 - Push to GitHub
gh auth login   # one-time setup if not already done
git add .
git commit -m "initial site"
gh repo create myblog --public --source=. --push
Step 8 - Connect Cloudflare Pages
- Cloudflare dashboard → Workers & Pages (account level, not domain level)
- Click Create application → Pages → Connect to Git
- Authorize GitHub and select your repo
- Build settings:
- Framework preset:
Hugo - Build command:
hugo - Build output directory:
public - Production branch:
master
- Framework preset:
- Expand Environment variables (advanced) and add:
- Key:
HUGO_VERSION - Value: output of
hugo version(e.g.0.161.1)
- Key:
- Click Save and Deploy
After deploy, add custom domain:
- Go to your Pages project → Custom Domains → enter your domain
- Cloudflare auto-adds the DNS CNAME record if your domain is already on Cloudflare
- Status will show “Verifying” for 1-5 minutes, then go active
Step 9 - Auto-start Local Preview (Optional)
Create a systemd user service so hugo server starts automatically on login.
mkdir -p ~/.config/systemd/user # Creates if it does not already exist
nvim ~/.config/systemd/user/hugo.service # Creates and opens the file in neovim
Insert the following content into your editor (in neovim’s “Normal” mode, press p to paste text from the clipboard):
[Unit]
Description=Hugo local preview server

[Service]
Type=simple
WorkingDirectory=/path/to/your/blog/site
ExecStart=hugo server -D

[Install]
WantedBy=default.target
Create the hugo.service in systemd.
systemctl --user enable hugo.service
systemctl --user start hugo.service
Preview available at http://127.0.0.1:1313 without manually running hugo server.
Daily Workflow
cd /path/to/your/blog/site
hugo new posts/new-post.md
nvim content/posts/new-post.md
# write post, set draft = false when ready to publish
git add . && git commit -m "new post" && git push
Cloudflare auto-builds and deploys on every push. No server management needed.
Notes
- Posts written in standard Markdown are compatible with Obsidian.
- Site files are stored locally; Cloudflare only reads from GitHub on push.
- Free Cloudflare Pages tier supports unlimited sites and deploys.